Simulator (Data Flow)
The submodule Simulator has nothing to do with the Designer and Process View submodules. The Simulator's task is to simulate incoming data. The Simulator subsequently shows how the data is distributed. Important note: No real data is sent in the simulation, nor are conversions (mapping) started in profiles. Furthermore, no forwarding of data to other profiles takes place.
Select type of Input Agent
The first step is the selection of an Input Agent (1). Depending on the Input Agent, a different dialogue appears, asking you to enter simulation data. For some Input Agents, an existing channel must also be selected. See example below.

Example simulation for FTP
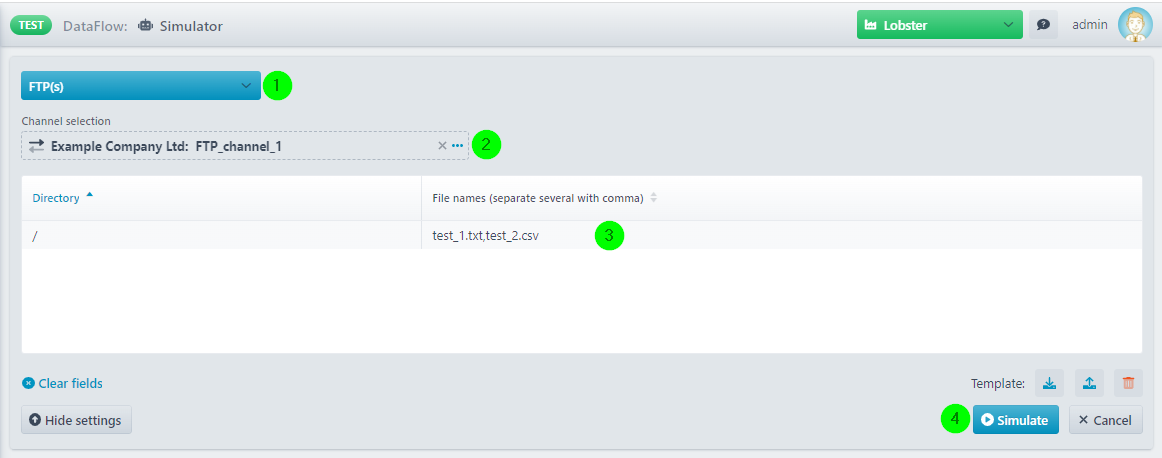
(1) Select Input Agent FTP(S).
(2) Here you have to select an existing FTP(S) channel from the Partner Administration.
(3) You can create test files via the context menu. No content is required. Only the file name and the directory (a subdirectory of the home folder of the FTP channel) have to be specified.
(4) A click starts the simulation.
Result
Let us assume that we have a profile that uses the partner channel selected in (2) above and that this profile reacts to files ending with .txt.
As a result of the simulation, you will get the following.
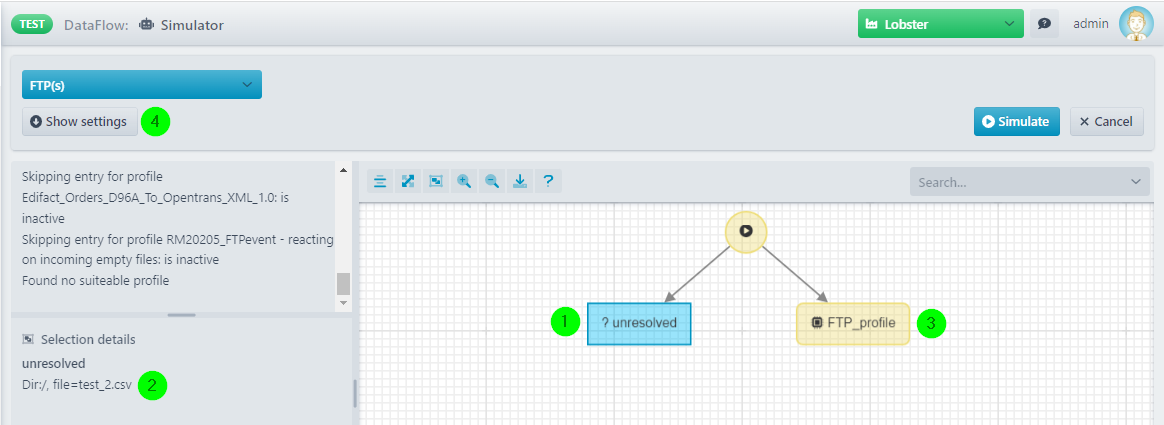
(1) If you select this box, you will see in (2) that the test file test_2.csv has not been processed by any profile and has therefore been moved to the Unresolved area (our profile accepts only files with the extension .txt).
(3) If you select this box, you will see that the test file test_1.txt has been accepted by this profile.
(4) A click here will lead you back to the simulation settings.